Images uploaded to Follow Up Boss will be sent at their actual size. If the image is too large or too small the image can be resized and added to Follow Up Boss with the desired dimensions using the methods described below.
Recommended Image Sizes
Signature Image: Height of 70-100 pixels by width of 300-400 pixels
Email Image: Maximum width of 600x600 pixels
Email Banner: Maximum height of 300 pixels
Resizing Images on Mac "Preview" App
1. Save the image to your Mac > Open the image
2. Click on the Edit image button
3. Select the Image Dimensions Icon as shown below
4. Edit the width of the image and the height will auto-adjust for the best quality
6. Click OK to save the re-sized image
7. Insert the re-sized image into Follow Up Boss by clicking the Insert Image icon and locating the re-sized image file on your computer
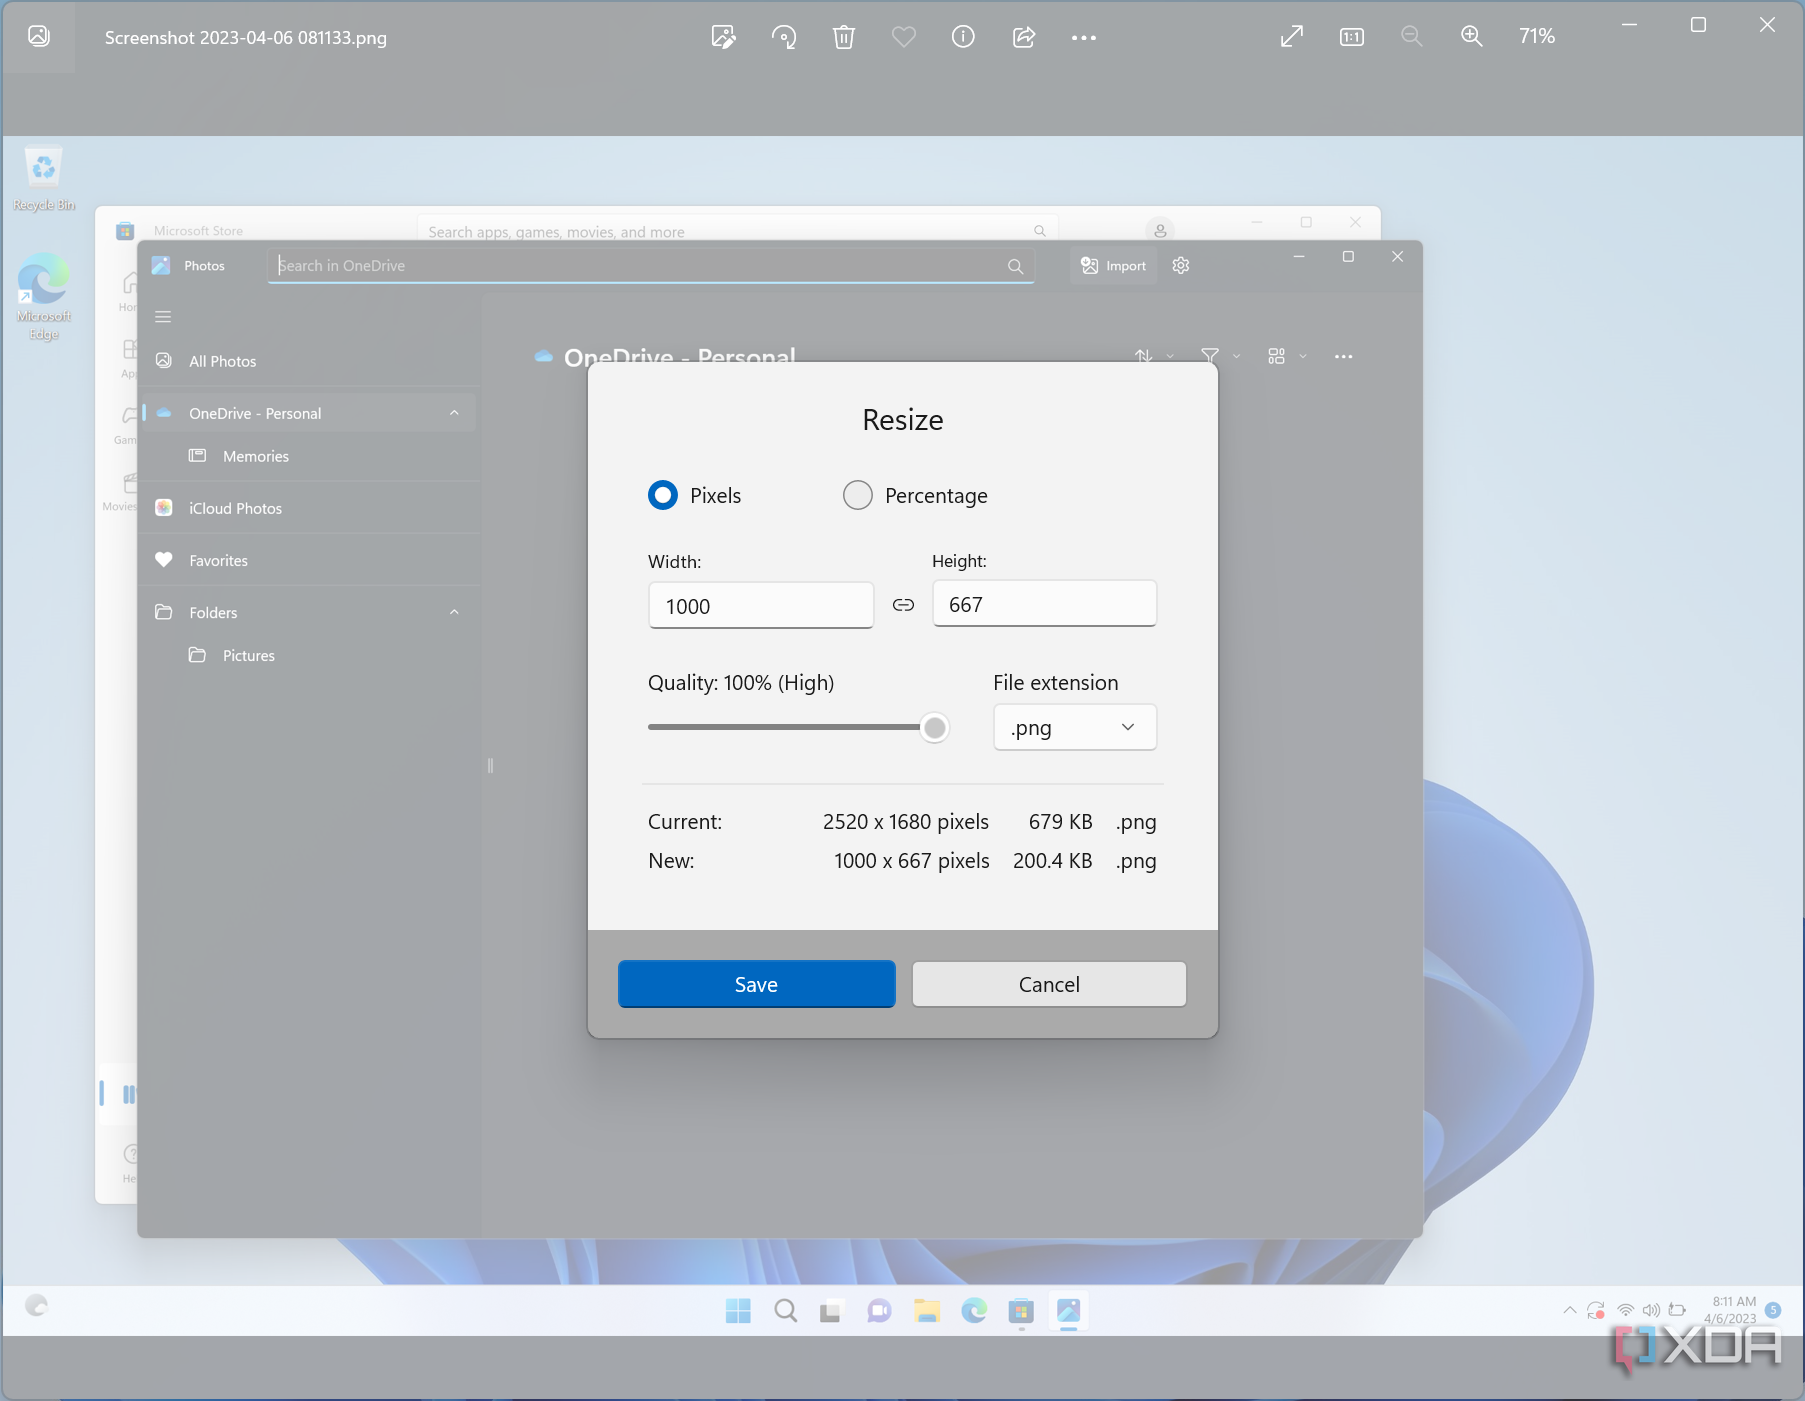
Resizing Images on the Windows "Photos" App
1. Open the image you want to resize using the Photos App
Note: This should be the default option when opening an image.
2. Click the Ellipsis Button on the menu bar at the top > click Resize
3. Enter the dimensions you want the image to have. You can see a preview of the final file size at the bottom of the window.

4. Save the image in a location of your choosing
5. Insert the re-sized image into Follow Up Boss by clicking the Insert Image icon and locating the re-sized image file on your computer
